5-Step Quality Assurance Checklist for Corporate Gift Procurement
-
Who This Is For (and Why You Need a Checklist)
-
Step 1: Verify the Spec Sheet Before You Send It
-
Step 2: Get a Physical Sample (Not Just a Digital Proof)
-
Step 3: Check the Die or Plate Registration (This Step is Often Overlooked)
-
Step 4: Mitigate Risk With a Staged Order (Split the Run)
-
Step 5: Perform Your Own Incoming Quality Inspection
-
Final Caveats (Common Traps to Avoid)
Who This Is For (and Why You Need a Checklist)
If you're sourcing corporate gifts—custom greeting cards, holiday ornaments, die-cut favors, or embroidery kits—and you've ever had a batch arrive with colors that look nothing like the proof, or a design element that was supposed to be embossed came back flat... you already know the frustration.
This 5-step checklist is for procurement officers, marketing managers, and small business owners placing orders of 500 to 10,000 units. It's designed to prevent the kind of mistakes that cost time, money, and a professional reputation.
Take it from someone who's reviewed over 200 unique corporate gift items in the last four years: a little structure early on saves a lot of pain later.
Step 1: Verify the Spec Sheet Before You Send It
Most quality issues I see start here. The spec sheet is your contract with the supplier. If it's vague, you'll get something that's “within industry standard,” which might not meet your expectations.
When I implemented our verification protocol back in 2022, I started by adding a mandatory checklist to the spec sheet itself. Here's what it must include:
- Dimensions: Be specific. “4×6” greeting card” is not enough. Is it A2? A6? What's the tolerance on cut? (I ask for ±0.5mm on die-cut items).
- Materials: Paper weight, coating (matte, gloss, uncoated). For die cuts: exact board thickness.
- Color reference: If you can't supply a Pantone code, at least reference a CMYK build. “Red” means different things to different printers (ugh).
- Finishing: Embossing, foil stamping, corner rounding—these are not default operations. List every single one.
- Packaging and quantity: 5,000 units is 5,000 units. But how are they packed? Bulk? Individually wrapped? This matters for corporate gifting where presentation counts.
A lot of buyers skip the packaging spec—especially for something like a Christmas ornament or a custom die-cut gift. But your client will notice if items arrive scratched because they were loose in a box.
Step 2: Get a Physical Sample (Not Just a Digital Proof)
Digital proofs are fine for layout and text placement. They're terrible for judging color, texture, or the tactile feel of an embossed die cut. I learned this the hard way.
I still kick myself for approving a run of 8,000 corporate greeting cards based on a PDF proof. The color was perfect on screen. In reality, the printed cardstock had a weird greyish cast that made the brand colors look muddy. We rejected the batch. The supplier redid it at their cost, but we lost three weeks. The client's timeline? Tight.
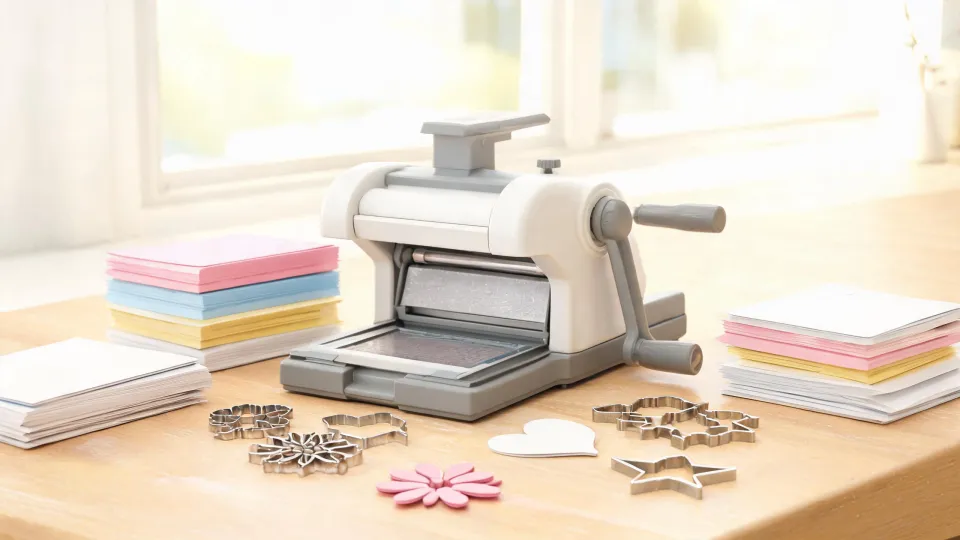
For any order over, say, 1,000 units, I insist on a physical strike-off or a production sample. If you're working with a custom die supplier (like those used for sizzix-compatible dies), ask for a sample cut on your chosen material. Check the bleed area, the cut line, and the registration marks if multiple colors or layers are involved.
If a supplier pushes back on providing a physical sample before the full run, that's a red flag. To be fair, some digital printers have eliminated this step due to cost. In that case, order a small proof run (25-50 units) first. It's a cheap insurance policy.
Step 3: Check the Die or Plate Registration (This Step is Often Overlooked)
This is the step most people ignore—especially if they're not experienced with die cutting. For custom-shaped gifts, ornaments, or die-cut greeting cards, the die registration is everything.
A custom die needs to align perfectly with the printed artwork. If the registration is off by even 1mm, a design element that's supposed to sit in the center of a circle might end up clipped off at the edge. For a corporate logo on a gift... that's a bad look.
My process now includes asking for a sample of the die-cut piece before the production run. I look for:
- Registration marks. Are they matched to the print file? For a multi-step process (print then cut), this is non-negotiable. I've rejected a batch of 500 custom dies because the reticle was off by 0.3mm, which meant every single cut was misaligned.
- Bleed area. Is the artwork designed to extend far enough beyond the cut line? Standard is 3mm, but I prefer 5mm for die-cut gifts. It's safer.
- Paper grain. (Yes, this matters.) For folded greeting cards, the grain should run parallel to the spine. It makes the card lie flat. If the grain runs the wrong way, the card won't close properly—a detail that screams “cheap.”
I'm not a design expert, so I can't speak to digital file prep in depth. What I can tell you from a quality perspective is: if you don't understand registration, ask your supplier for a visual diagram. If they can't provide one clearly, find another supplier.
Step 4: Mitigate Risk With a Staged Order (Split the Run)
This is a strategy I use now after it saved me from a disaster about 18 months ago.
For a large order of corporate holiday ornaments (5,000 units), we decided to split production into two parts: an initial sample batch of 100 units, and then the main run of 4,900 units. The sample batch revealed that the metallic foil on the die-cut design was smudging in the packaging process. We identified the issue, adjusted the finishing step (added a protective varnish), and then proceeded with the main run without a hitch.
If we'd gone straight to production on 5,000 units... well, that would have been a $22,000 redo (roughly).
The staged approach works particularly well for:
- Custom die-cut items
- Multi-step finishing (foil, embossing, layering)
- Any material you haven't used with that supplier before
- Orders with a tight delivery deadline (the sample run is your canary in the coal mine)
Granted, this adds a week or two to the overall timeline. But the cost of a failed full production run (in both money and client trust) is far higher.
Step 5: Perform Your Own Incoming Quality Inspection
Don't just sign off on the supplier's final invoice without doing your own check. This is where the "prevention over cure" mindset really pays off.
I use a simple 10-point checklist for incoming inspection. For corporate gift orders, the key points are:
- Visual match. Hold the production sample against the approved strike-off. Under natural light. Look for color shift, fading, or defects in the print.
- Measurement check. Use a caliper for die-cut items. Measure the overall dimensions and the position of any cut lines relative to the print. I reject anything outside ±0.5mm complexity.
- Consistency test. Pull 5 random samples from different parts of the batch. They should all look identical. I once found a run where the die had started to wear down halfway through—the last 2,000 units had a slightly rougher cut edge.
- Packaging integrity. This is critical for corporate gifts that are being shipped directly to clients. Open a few boxes. Are items protected? Is there unnecessary overpack that will increase your shipping costs?
If you find an issue, don't panic. Document it with photos and call the supplier immediately. Most reputable suppliers will work with you, especially if you caught it before they shipped the entire order. I've had to reject partial runs (maybe 10-15% of a batch) for a registration drift issue—but catching it early meant we only had to redo that portion.
One other note: if you're working with a fulfillment or kitting partner for items like embroidery kits or candle holder sets, extend this checklist to their assembly process. A single missing component in a kit can ruin the client experience.
Final Caveats (Common Traps to Avoid)
Don't assume “premium pricing” means “perfect quality.” I've seen luxury-level vendors make the same errors as budget ones. They just look better on paper. Always verify.
Specs change between the sample and the production run. (Unfortuately.) The supplier might substitute a different material without telling you. Always review the final spec sheet before production begins.
Supplier communication is not quality control. Just because you've worked with someone for years doesn't mean a new hire didn't misread the instructions. Trust—but verify. That's the core of this checklist.
As of April 2025, this 12-point checklist has saved us an estimated $15,000 in potential rework. I probably could have avoided most of my early career mistakes if I'd just written it down. Now I share it with every new team member. It's the cheapest insurance policy you'll ever buy.

Elise Laurent is a crystal and decorative glass quality analyst covering crystal figurines, vases, ornaments, suncatchers, and gift glassware. She examines ISO 6486-1 where food-contact glass dinnerware applies, then uses polarized strain inspection, dimensional checks, surface-defect grading, and refractive clarity to compare decorative pieces outside that scope. Her work helps sourcing teams choose materials, finishing routes, and protective packaging without confusing visual brilliance with verified durability.