The 5-Step Sizzix Promotional Products Checklist for Corporate Gifts and Christmas Ornaments
-
1. Confirm the Machine, Die, and Material Compatibility Before You Promise a Date
-
2. Match Material to Real Cut Settings (and Get the Print Resolution Right)
-
3. Lock the Color with a Pantone Reference, Not a Screenshot
-
4. Plan the Budget Like a Sourcing Emergency, Not a Single Quote
-
5. Plan Packaging and Fulfillment Before You Start Cutting
-
Final Notes: What I Still Forget (and Why You Shouldn’t)
Let me start with what this isn’t. It’s not a beginner’s love letter to die cutting. I’ve spent the last decade coordinating promotional products and corporate gifts, and if there’s one thing I know, the pretty photos are the easy part. The hard part is getting 500 matching custom Sizzix Christmas ornaments out the door before a client’s holiday event.
In my role as the person who fixes these fires, I’ve handled 200+ rush orders — some with same-day turnarounds, one with a $50,000 penalty clause hanging over it. So if you’re about to produce custom Sizzix products, especially as promotional products, you need a checklist that has already been burned. Here’s the one I actually use.
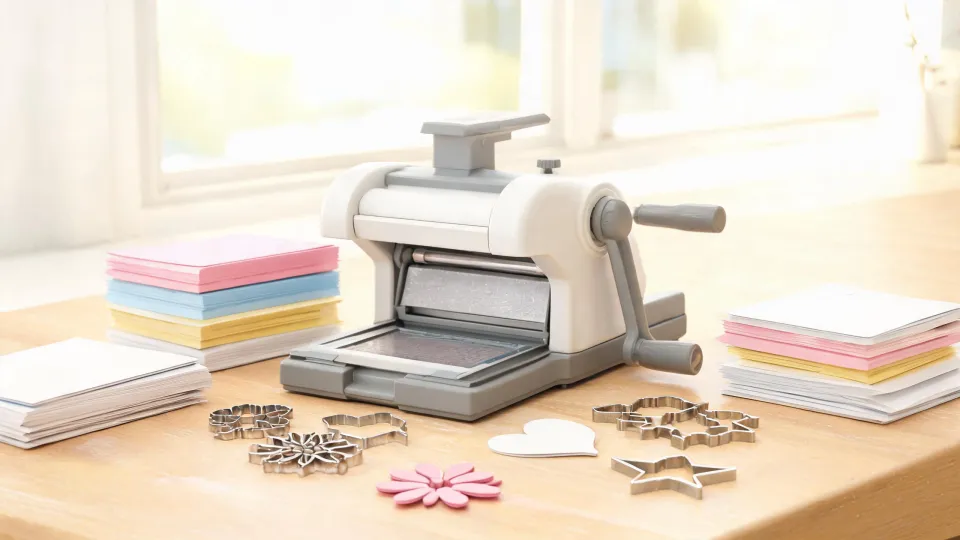
This works for anyone using a Sizzix machine — maybe the Sizzix Big Shot Die Cutting Machine Starter Kit — to make corporate gifts, greeting cards, ornaments, or any other custom item. It’s not a tutorial on one specific craft. It’s the operational sequence that keeps a deadline from turning into a catastrophe.
1. Confirm the Machine, Die, and Material Compatibility Before You Promise a Date
Most people start with the design. I start with the die. Sizzix (the same brand that shows up on box labels as Sizzix Provo Craft) makes dies for a range of machines. A custom Sizzix die is made to work with specific platforms. If you’re using a Big Shot, a Big Shot Pro, or the Sidekick, the platform differences matter. The starter kit for the Big Shot is a great entry point, but it doesn’t mean every die fits.
In March 2024, a client called at 7:30 AM needing 500 custom ornaments for a ceremony 36 hours later. Normal turnaround was five days. We found a production slot, paid $400 extra in rush fees on top of the $1,200 base cost, and delivered on time. The client’s alternative was missing the deadline and losing a $12,000 contract.
Before you promise anything, check:
- Die dimensions vs. the machine platform.
- Maximum material thickness for the die and machine.
- Backup machine if the primary one jams.
In my first year, I made the classic specification error: assumed “standard” meant the same thing to every vendor. It didn’t. That cost me a $600 redo. Learn from that: check the actual compatibility specs, not a product name.
2. Match Material to Real Cut Settings (and Get the Print Resolution Right)
This is where “value over price” first shows up. Cheap cardstock might save you $20, but if it tears during a die cut, you lose the whole run. For printed pieces, paper weight is not a suggestion. Industry-standard minimums for commercial print are 300 DPI at final size. If your logo image is 3000 × 2000 pixels, at 300 DPI that’s 10 by 6.67 inches max. At 150 DPI you can stretch it bigger, but fine text and thin logo lines get rough.
For paper, I keep these equivalent weights handy:
- 20 lb bond = 75 gsm (standard copy paper)
- 80 lb text = 120 gsm (light brochure)
- 100 lb text = 150 gsm (premium brochure)
- 80 lb cover = 216 gsm (business card weight)
- 100 lb cover = 270 gsm (heavy business cards)
These are approximate, but they keep you from ordering “cardstock” and getting something that feels like printer paper.
Sizzix machines can handle a lot: cardstock, felt, thin cork, some sheets of craft metal, even chipboard. But “a lot” is not “every material without limitations.” Always test with the exact die and material before a full production run. A test cut is not an optional step. It’s the cheapest insurance you’ll ever buy.
3. Lock the Color with a Pantone Reference, Not a Screenshot
Corporate clients care about logo color. “Red” is not a specification. Industry standard for brand-critical colors is a Delta E under 2. Delta E of 2 to 4 is noticeable to trained observers; above 4 is visible to most people. Reference: Pantone Color Matching System guidelines.
For example, Pantone 286 C (a common corporate blue) converts to approximately C:100 M:66 Y:0 K:2 in CMYK, but printed results vary by substrate and press calibration. When you’re printing on 100 lb cover paper and then die-cutting a Christmas ornament shape, the color can shift because of the material. The only way to verify is a physical proof.
Do not let anyone rush you past this. On a custom Sizzix die-cut ornament, a color shift isn’t just a quality issue — in a corporate gift, it’s a branding issue.
4. Plan the Budget Like a Sourcing Emergency, Not a Single Quote
My view on procurement has changed over the years. I used to compare per-unit prices. Now I compare total cost: material, test cuts, rush fees, redo risk, and the cost of missing a ship date. In my experience managing 200+ projects, the lowest quote has cost us more in 60% of cases. That $200 savings can become a $1,500 problem when the material arrives lighter than specified and the die cuts tear.
Rush fees are real. Based on major online printer fee structures in early 2025, next-business-day usually costs 50–100% more than standard; 2–3 day runs are 25–50% more; same-day can be 100–200% more. If you can predict the rush, budget for it before it happens.
And here’s the line I keep in my head: “We paid $400 extra in rush fees, but saved the $12,000 project.” That’s exactly what happened on the March 2024 ornament order.
5. Plan Packaging and Fulfillment Before You Start Cutting
This is the step most people skip. They spend the whole week on the die cuts and forget that a corporate promotional product needs to arrive as a uniform present. Five hundred ornaments individually wrapped and bagged is a different logistics job than 500 loose pieces in a bulk carton. Packaging costs money, too.
If you’re sending a premium corporate gift, the sourcing question gets even more specific. In late 2024, one buyer I worked with Googled where can i buy fine china and ended up with a decent-looking supplier with a terrible freight plan. The question isn’t just where can i buy fine china — it’s “who can deliver fine china without chips and without surprises?” Same logic applies to custom Sizzix dies and ornaments. Ask about packaging, drop-shipping, damage rates, and replacement policy before you cut, not after.
Final Notes: What I Still Forget (and Why You Shouldn’t)
My experience is based on about 200 mid-range corporate orders. If you’re working with ultra-budget promo products or luxury executive gifts, your numbers and vendors may differ. I can’t speak to high-end crystal awards or multi-country freight. But the order of operations above holds for custom Sizzix projects: machine compatibility, material, color, pricing, fulfillment.
Common mistakes I still see:
- Skipping the test cut because “we’re late already.” That’s exactly when you need it most.
- Assuming a thicker material will cut cleanly just because the machine has enough power.
- Waiting until after production to ask about packaging.
- Comparing only per-unit price and ignoring the cost of a missed deadline.
And one more thing: if you’re using a Sizzix Big Shot Die Cutting Machine Starter Kit for a holiday order, build in a 48-hour buffer. We implemented that policy after a 2023 incident where a vendor shipped to the wrong address. Trust me on this one. You’re gonna want that buffer.

I’m Jane Smith, a senior content writer with over 15 years of experience in the packaging and printing industry. I specialize in writing about the latest trends, technologies, and best practices in packaging design, sustainability, and printing techniques. My goal is to help businesses understand complex printing processes and design solutions that enhance both product packaging and brand visibility.